As part of form customization, default values play a crucial role. In certain instances, creating a ticket requires specific on-boarding instructions. This is where default values come into play, allowing you to specify the required information for each problem category at any level in the problem catalog. This feature is available for the subject, description, and custom fields of types: text, number, note, and link. By setting up default values, you can ensure that tickets are submitted with comprehensive details.
Speed up ticket submissions with smart defaults.
👉 Start your 30-day free trial today.
This guide describes how to do that in SteadyPoint, the best SharePoint helpdesk app.
Table of Contents
Creating new Default Values for the Description Field in SteadyPoint Office 365 Ticketing System
- Click on the three dots (…) next to the desired request type.
- Select “Edit Form” from the options.
- Navigate to the description field and click “Edit this field“.
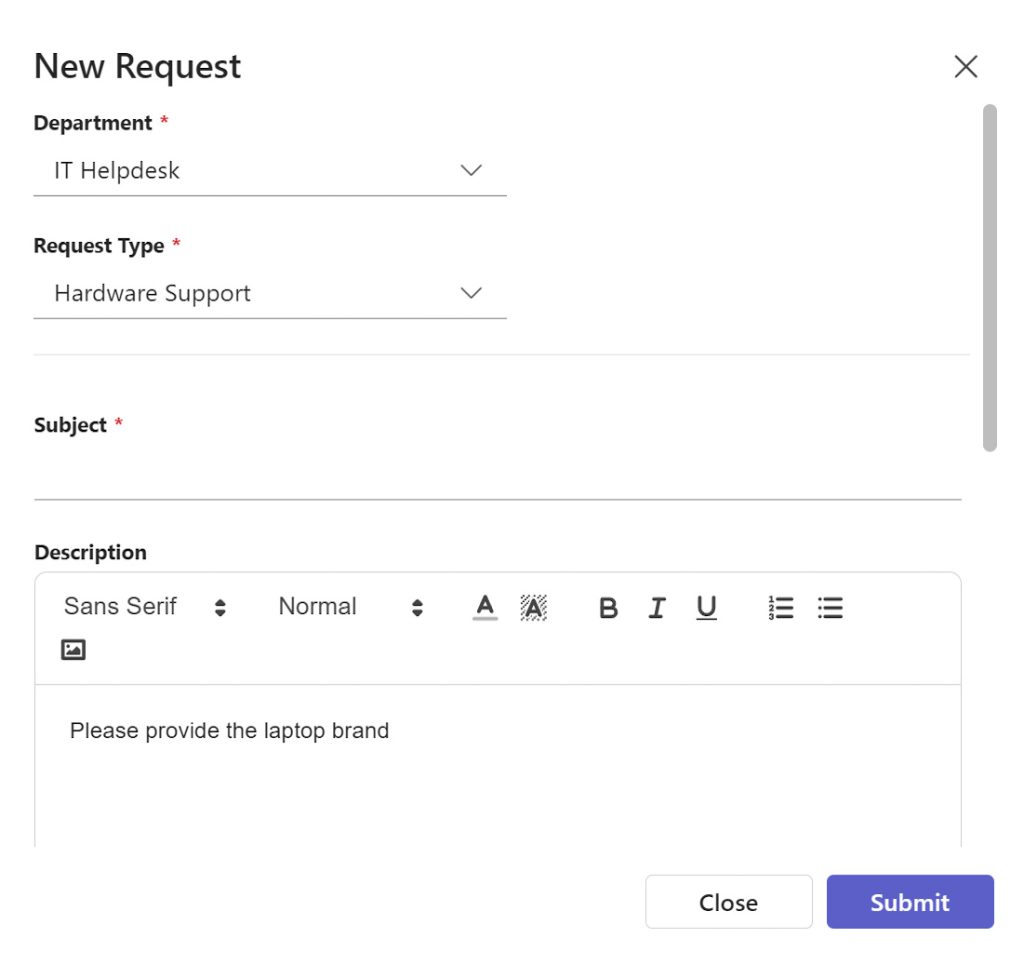
- Locate the “Default value” field, type the instructions you want, and publish.
Now that you have created a default text, every time a ticket is created under that area, the submitted default text will show up in its place.