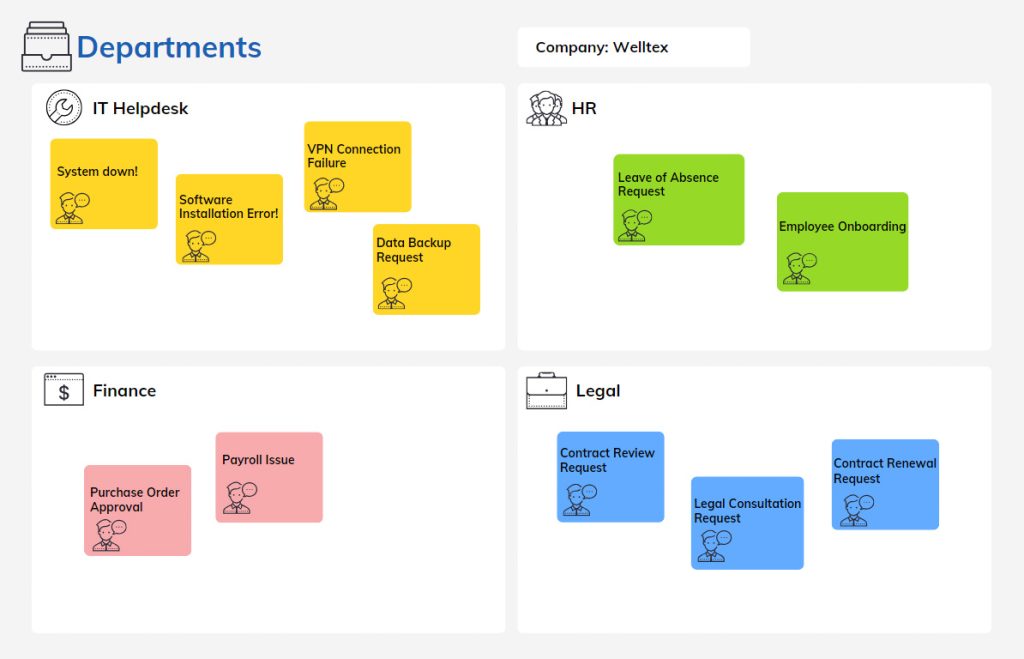
In our system, tickets are structured into specific entities referred to as departments, which aid in communication, permission management, and collaborations. Users have the flexibility to rename these entities, to reflect locations (e.g., New York Office, Washington Office, San Francisco Office), projects (e.g., Marketing Campaign, Website Redesign Initiative), products (e.g., Product A, Product B), etc..
Tickets in SteadyPoint SharePoint help desk are classified according to different entities referred to as departments, which can be customized to represent various aspects such as locations, products, and more for a well-organized helpdesk system.
A department is the foundation of organization, marking the first step in a four-level hierarchy. It’s essential to create a department, as it sets up a structured and organized system for managing tasks, tickets, and projects.
Not sure how to categorize your tickets?
👉 Book a free demo and get expert help
Table of Contents
Creating a New Department
Creating a new Department is a straightforward process. Follow the step-by-step guide below:
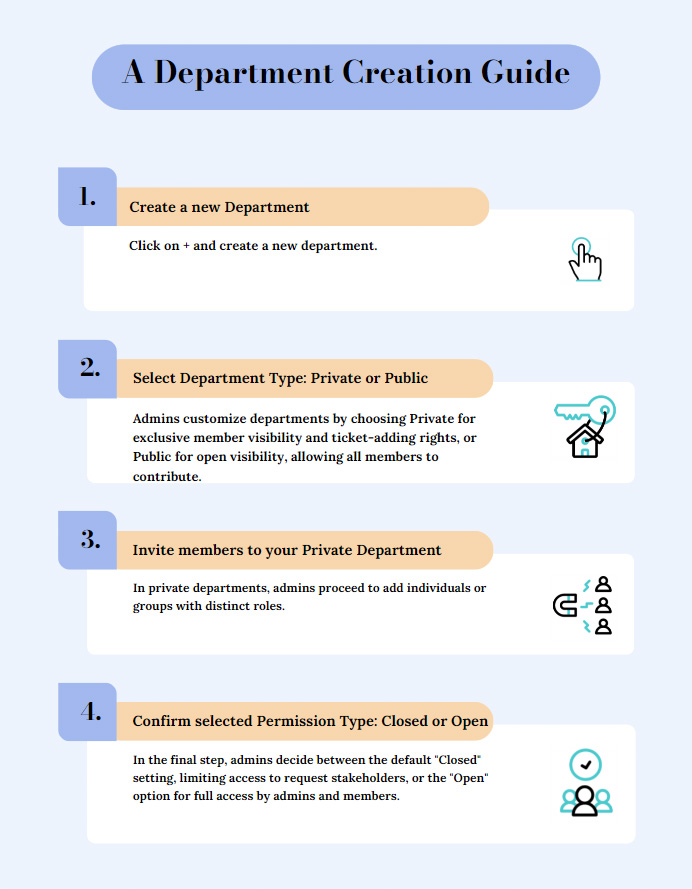
Each step will be discussed in turn below:
A. Starting Department Creation
- Click on “+ Create a New Department“.
B. Department Privacy
- Choose the department privacy.

- 1 Private: Users need permission to join. This type is suitable for restricted access, ensuring only authorized members can view and contribute to the department.
- 2 Public: Open to anyone in the organization. These spaces are visible to all members, and new members are automatically added. They’re ideal when you want every member to be able to contribute and add tickets to the department.

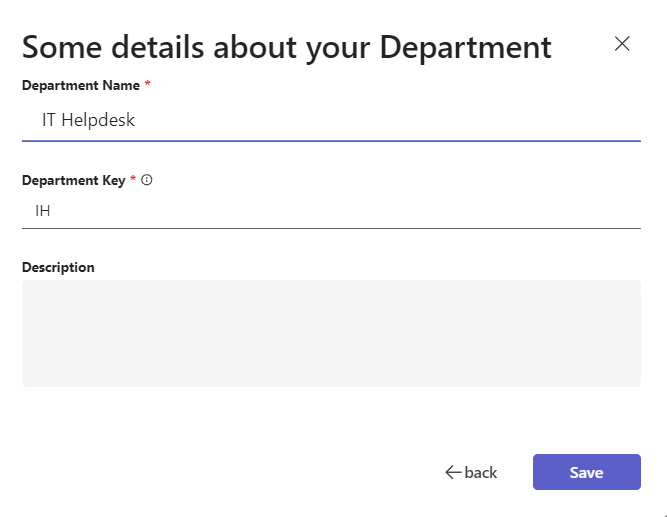
C. Setting Up Department Details
- When creating a department, provide it with a unique name and an optional description. Additionally, specify a department key, essential for identification purposes and utilized in various contexts, including ticket IDs. If not manually set, the system automatically generates the department key using the initials of the name. For single-word names, the first two letters serve as the default key.
D. Adding Members – Private Departments
- The department members module is integrated with the Microsoft Active Directory service, eliminating the need for additional user management. The department members can be individual users or groups. Admins can easily add, remove, or change members’ roles within the department. To manage members, simply navigate to the drop-down menu and select “Members”.
Members can be assigned different roles:
- Admin: Possesses the highest level of permissions within the department, enabling them to manage various aspects such as request types, forms, teams, reminders, and escalations.
- Member: Users in this role can create, edit, and view tickets only.

E. Verifying Permission Type for Ticket Access
- Admin verifies the permission type, where access to tickets is determined. There are two permission types:
- Closed: Departments with closed permission type only allow the request stakeholders (reporter, Owner, assignee, watcher) and global admins to search, view, and edit their submitted requests.
This permission type is used to contain and limit the number of users who can view/change the requests - Open: Admins and Members can view.
Departments with open permission types allow all admins (global and department admins) and members of the department to search, view, and edit the requests.
It is used when all admins and members are granted search, view, and edit permissions.